Understanding Exhaust Hood Installation Essentials
Exhaust hoods are essential components in modern kitchens, serving a crucial role in maintaining air quality and ensuring a safe cooking environment. As cooking generates steam, smoke, and odors, an effective exhaust hood helps to ventilate these elements, promoting a clean and healthy atmosphere. Understanding the intricacies of exhaust hood installation can be beneficial for homeowners looking to enhance their kitchen functionality and aesthetics. In this article, we will explore the various types of exhaust hoods, the installation process, and what you need to consider before embarking on this project.
What is an Exhaust Hood and its Benefits?
An exhaust hood, often referred to as a range hood or vent hood, is a kitchen appliance that captures and removes smoke, heat, and odors generated during cooking. These hoods can be ducted or ductless, with ducted systems channeling the air outside and ductless systems filtering and recirculating the air within the kitchen. The benefits of installing an exhaust hood include:
- Improved Air Quality: By removing contaminants from the air, exhaust hoods help maintain a healthier living environment.
- Enhanced Visibility: Good ventilation reduces fogging on windows and surfaces, ensuring you can see what you’re cooking.
- Fire Safety: Removing excess heat and particles minimizes the risk of grease fires.
- Odor Control: Effective hoods eliminate cooking smells, contributing to a more pleasant home atmosphere.
Types of Exhaust Hoods: A Comprehensive Overview
Choosing the right type of exhaust hood is essential for optimal performance. Here’s a closer look at the most common types:
- Wall-Mounted Hoods: These are installed on the wall above the cooking surface and are suitable for kitchens with adequate wall space.
- Under-Cabinet Hoods: These units fit beneath cabinets and are ideal for kitchens with limited space.
- Island Hoods: Designed for use over kitchen islands, these hoods are often more decorative and can serve as a focal point in the kitchen.
- Ductless Hoods: These use filters to clean the air and are best for homes without ductwork.
- Downdraft Hoods: These systems retract into the countertop when not in use and are a stylish alternative for modern kitchens.
Key Considerations Before Installation
Before you start with the installation of your exhaust hood, consider the following factors:
- Size of the Hood: Ensure that the exhaust hood is appropriately sized for your cooktop or range, ideally covering the entire cooking surface.
- Cubic Feet per Minute (CFM): This rating indicates the hood’s airflow capacity. Higher CFM ratings are suitable for high-heat cooking.
- Ductwork Availability: If you choose a ducted hood, plan for the necessary ducting through walls or ceilings.
- Electrical Requirements: Determine if your installation will require electrical work to power the unit.
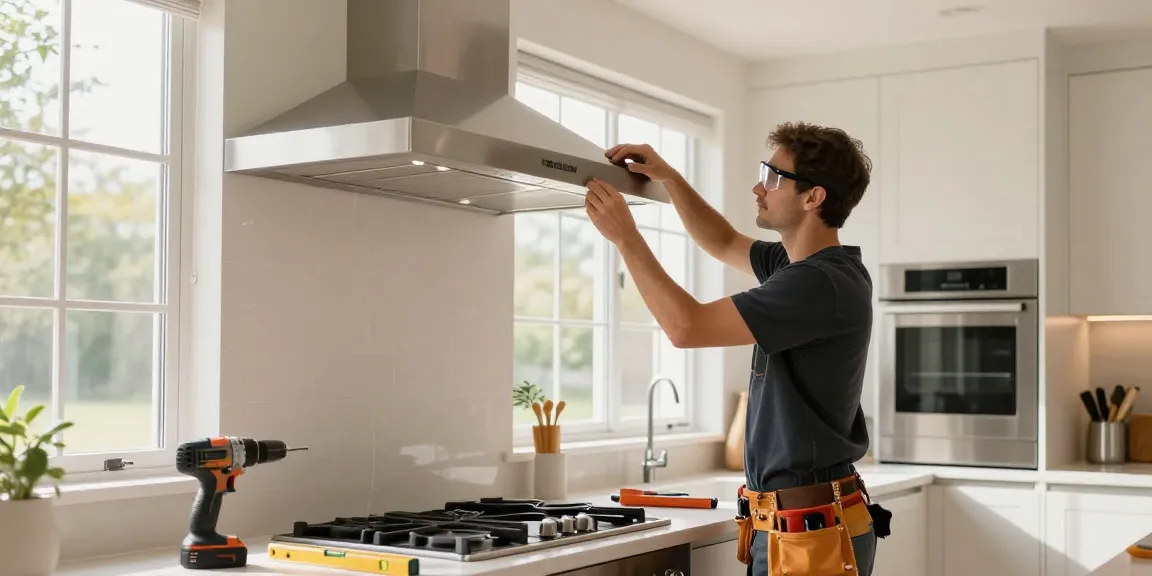
The Installation Process: Step-by-Step Guide
Installing an exhaust hood may seem daunting, but with careful planning and the right tools, it can be accomplished with relative ease. Follow these steps for a successful installation:
Preparing Your Space for Exhaust Hood Installation
Begin by clearing out your kitchen area and ensuring you have ample space to work. Measure the height at which you want the hood to be installed—typically, hoods should be positioned 24 to 30 inches above the cooking surface. Make sure all surfaces are clean and accessible, and consider whether you’ll need to make alterations to existing cabinetry.
Necessary Tools and Materials for a Successful Installation
Gather the following tools before starting your installation:
- Drill and drill bits
- Screwdriver
- Measuring tape
- Level
- Pencil for marking
- Electrical wiring supplies (if applicable)
- Safety goggles and gloves
Safety Precautions During Installation
Safety should always be your top priority. Make sure to turn off the power at the breaker box before beginning any electrical work. Use safety goggles to protect your eyes from debris and wear gloves to avoid cuts. If you’re unfamiliar with electrical work, consulting a professional electrician is advisable.
Common Challenges in Exhaust Hood Installation
While installing an exhaust hood can be straightforward, there are several common challenges you may encounter:
Overcoming Electrical and Ventilation Issues
For ducted models, ensure that the ductwork can vent air properly to the outside. Sometimes existing ducts may need alterations, or additional ducting may be required. For electric hoods, plan for an electrical layout that complies with local codes.
Dealing with Space Constraints in Kitchen Design
In compact kitchens, it can be challenging to find suitable mounting locations for the hood. Be creative with the layout, ensuring that any chosen position maintains effective airflow while fitting within the overall kitchen design.
Addressing Noise Concerns from Exhaust Systems
Some exhaust hoods can be noisy, particularly at higher speeds. Choose a model with a lower sone rating for quieter operation. Additionally, installing sound-absorbing materials around ductwork can help reduce noise.
Expert Tips for a Professional Finish
To ensure that your exhaust hood installation looks seamless and functions effectively, consider the following tips:
Ensuring Proper Measurements for Seamless Installation
Double-check all measurements before you drill any holes to avoid mistakes. Use a level to ensure that the hood is straight, and adjust as necessary before securing it.
Maintaining Compliance with Local Building Codes
Research and adhere to local building codes regarding kitchen ventilation and installation. Compliance can prevent costly fines and ensure safety.
Post-Installation Maintenance Tips for Longevity
Regular maintenance is key to ensuring the longevity of your exhaust hood. Clean filters monthly, and check for grease buildup in the ductwork and surrounding areas periodically. This will not only enhance performance but also extend the life of your appliance.
Future Trends in Kitchen Ventilation: What to Expect in 2026
As kitchen technology continues to evolve, several trends in exhaust hood systems are emerging:
Innovative Technology in Exhaust Hoods
Expect to see advancements in air quality sensors and automated systems that adjust fan speeds based on cooking activity. These smart hoods can provide a more efficient and user-friendly experience.
Eco-Friendly Options for Sustainable Cooking
As sustainability becomes a priority, manufacturers are focusing on eco-friendly materials and energy-efficient models that minimize environmental impact.
Smart Home Integration: The Future of Exhaust Systems
Smart home integration is set to become more prevalent, allowing homeowners to control their exhaust hoods via smartphone apps or voice commands. This brings convenience and aligns with modern home network setups.
Can I install an exhaust hood myself?
If you are experienced with home renovation and comfortable working with electrical systems, you may be able to install an exhaust hood yourself. However, if you lack expertise, it’s wise to hire a professional to ensure a safe and efficient installation.
What factors affect the cost of exhaust hood installation?
The cost of installation can vary based on several factors, including the type and size of the hood, the complexity of ductwork needed, and local labor rates. On average, homeowners can expect to pay between $400 and $1,500 for installation.
How do I choose the right exhaust hood for my kitchen?
When choosing an exhaust hood, consider the type of cooking you do, kitchen size, design aesthetics, and specific features like fan speed and CFM rating. A hood should effectively cater to your cooking habits while being visually compatible with your kitchen decor.
How long does the installation process typically take?
The installation process can take anywhere from 2 to 6 hours, depending on the complexity of the installation and whether electrical and ductwork modifications are needed.
What maintenance is required after installation?
After installation, it’s important to regularly clean the filters and check for any obstructions in the ductwork. Scheduling professional maintenance every few years can help keep the system in optimal condition.